Option List
Overview
Options define a set of predefined values used for the value range of CI attributes, ensuring data consistency and standardization.
What this module can do for you:
- View system predefined options (e.g.,
Install Type,Service Status, etc.) - Create custom options
- Edit or delete custom options
- Import and export option definitions
Main Features
- Built-in Options: System preset options
- Custom Options: Support for creating new options
- Drag-and-Drop Sorting: Adjust the display order of option values via drag-and-drop
- Import and Export: Support importing and exporting option definitions
Interface Layout
The Option Management page uses a left-right split layout:
Left: Option List
The left side displays the list of options:
- Built-in Options: System preset options, such as
Install Type,Service Status, etc. - Custom Options: User-created options
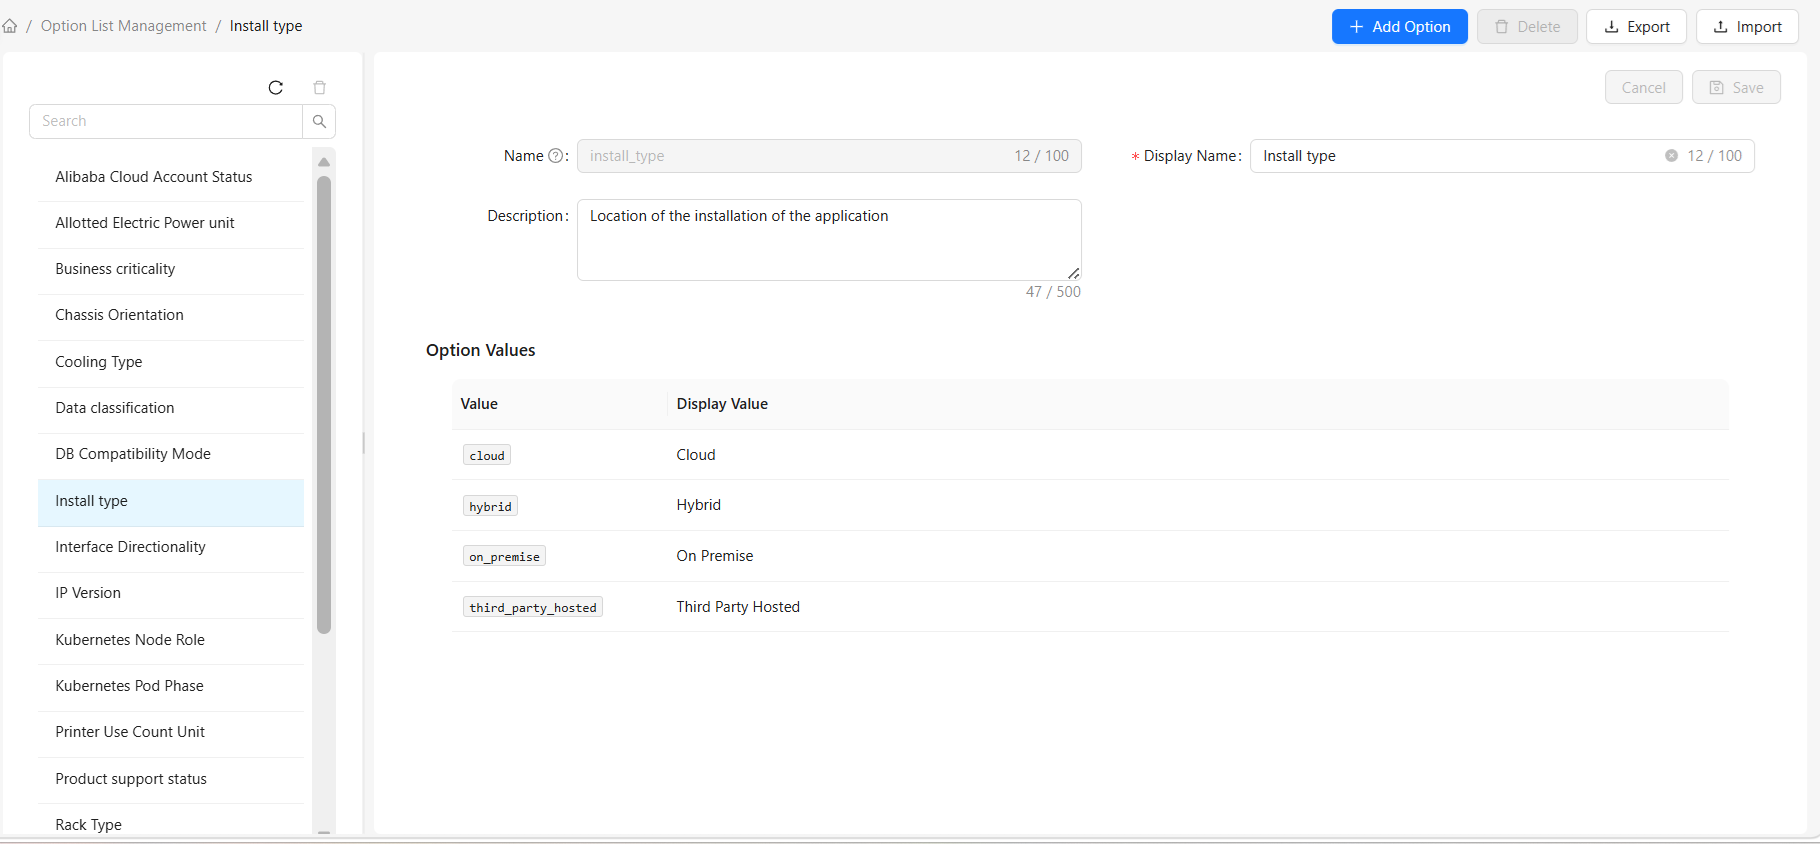
Right: Option Details
The right side displays detailed information about the selected option:
- Name: Unique identifier of the option
- Display Name: Name displayed in the interface
- Description: Description of the option
- Option Value List: All predefined values for this option
How to Use
View Options
- Click any option in the left list
- The right side displays detailed information about that option
Search Options
Use the search box above the left list:
- Enter the option name in the search box
- The list automatically filters to show only matching options
- Clear the search box to restore the full list
Create a New Option
- Click the "Add Option" button in the top toolbar
- Fill in the option information in the popup dialog:
- Name: Unique identifier for the option (must start with a letter, only letters, numbers, and underscores allowed)
- Display Name: Display name for the option
- Description: Description of the option's purpose (optional)
- Add option values:
- Click the "Add Value" button
- Fill in the Value and Display Name for the option value
- Click "OK" to complete the creation
Edit an Option
- Select the option you want to edit in the left list
- Modify the display name or description in the right detail panel
- After modification, click the "Save" button
Delete an Option
- Select the custom option you want to delete in the left list
- Click the "Delete" button
- Confirm the deletion
Note: Only custom options can be deleted. If a CI type attribute is using the option, it cannot be deleted.
Export Options
- Select the option(s) you want to export in the left list
- Click the "Export" button in the top toolbar
- The system automatically downloads a JSON file containing the option definition(s)
Import Options
- Click the "Import" button in the top toolbar
- Select the JSON file to import in the popup dialog
- To overwrite existing options, check "Overwrite existing options"
- Click "Confirm Import" to complete the operation
Option Value Management
Each option contains a set of predefined values.
Add an Option Value
- Click the "Add Value" button in the right detail panel
- Fill in the option value in the popup dialog:
- Value: Unique identifier for the option value (must start with a letter, only letters, numbers, and underscores allowed)
- Display Name: Display name for the option value in the interface
- Click "OK" to complete the addition
- Click the "Save" button to save changes
Edit and Delete Option Values
You can edit and delete option values using the action column in the option value list.
Note:
- Option values of built-in options cannot be modified or deleted
- After deleting an option value, CI data using that value may display incorrectly — proceed with caution
Drag-and-Drop Sorting
- Hover over the sort icon in the "Sort" column of an option value
- Hold the left mouse button and drag to the target position
- Release the mouse to complete the sorting
- Click the "Save" button to save changes
Note: Sorting determines the display order of option values in dropdown lists.
Using Options in CI Types
After creating an option, you need to reference it in a CI type for it to take effect.
Steps
- Go to the "CI Types" module
- Select the CI type to which you want to add an attribute
- Switch to the "Attributes" tab
- Click "Add Attribute"
- Configure the attribute:
- Type: Select the
Optiontype - Option: Select the desired option
- Type: Select the
- Save the attribute
Effect
When creating or editing a CI in CI Directory:
- The field displays as a dropdown selector
- Only predefined option values can be selected
Frequently Asked Questions
Q: Why can't I modify the option values for some options?
A: These are built-in options. Their option values are predefined and cannot be modified. You can only modify the display name and description.
Q: What are the restrictions on deleting options?
A:
- Built-in options cannot be deleted
- Options referenced by CI type attributes cannot be deleted
Q: What does the sorting of option values do?
A: Sorting determines the display order of option values in dropdown lists. A reasonable order can improve user experience, such as placing the most commonly used options first.